Showing posts with label bedroom. Show all posts

Saturday, June 9, 2012

Update Through Pictures


I realize that I haven't posted in FOREVER, well since March, which is basically forever in the world of blog posting. Anyways, I am really going to try to get back to posting more regularly. For now, I will give you an update through pictures of what I have been up to lately. I feel like it has just been weddings, weddings, weddings (which is good, since that's what I do), but looking back through pictures, I realized that I have snuck a few other projects in as well. I have many wedding and interior design jobs to share with you but they have quite a few pictures and each deserve their own post, so those will be coming soon. 
I made this wreath just before Easter. Being a southern girl, I love the natural appeal of cotton so I added it to a grapevine wreath and tied it off with a burlap bow. 
In the midst of planning weddings, I also planned a sock monkey themed first birthday party. These were the custom party hats that I designed. I have many more pictures from the photographer to share later.
One of my clients had an unfinished toy chest that I repurposed into an elegant, mirrored piece for her dining room. It's amazing what you can do with some metallic spray paint and mirrors.
For a client's bedroom, I made a drop cloth covered headboard with nailhead trim. I also designed the bedroom and painted several furniture pieces.
A client's dining room got a make-over, keeping the antique furniture and adding modern elements including a leopard print rug, abstract painting, and mercury glass.
In March, the boyfriend and I flew out to Dallas (which I completely fell in love with) to search for an apartment for him. After two days of hunting, he decided on this building which is in the trendy Uptown area. It has a basketball court on the third floor, an incredible fitness room, and is within walking distance of about 60 restaurants, not to mention all the little shops. 
In May, I was able to fit in a family beach trip to Destin, FL. It was a super relaxing week spending quality time with all my favorite people.
The boyfriend despises taking pictures but since his mom insisted and he knew I was wanting to play with my camera, he cooperated for a few graduation shots around Auburn University. This was one of my favorites, because apparently this is his "smart" look, which is appropriate since he graduated Magna Cum Laude with a degree in Industrial and Systems Engineering.
My best friend is 6 months pregnant! I can't believe how time flies. With only three months left until her little girl arrives, I am designing her nursery with custom bedding and furniture. I am so excited to see it all finished and put together.

So that pretty much sums up my life as of lately. More to come as soon as possible!


Tuesday, May 10, 2011

Restored Bedroom Suite

This post is exciting to me because it one that I have greatly anticipated. Most of my other projects have been completed within a week but this furniture make-over has taken a good bit of time. The general labor didn't take any longer than expected but with all the crazy weather in Alabama recently, I was constantly dragging these very heavy pieces to and from the garage. One of my mom's best friends had this antique dresser/mirror and bed in her basement and asked me if I would want to fix it up to sell. I had so many ideas and I was so excited to finally get to put them to use. While the furniture had a very pretty structure and elegant engraved detail, it was definitely in need of some work. 
The top had a laminate coating on parts of it so first off, that had to go.
The legs were part laminate as well so I removed it all.
I had never used an electric sander, and while it was much faster than a sanding block, the thing was quite powerful. After I got used to it, I decided it was definitely a tool that I would be using from now on.
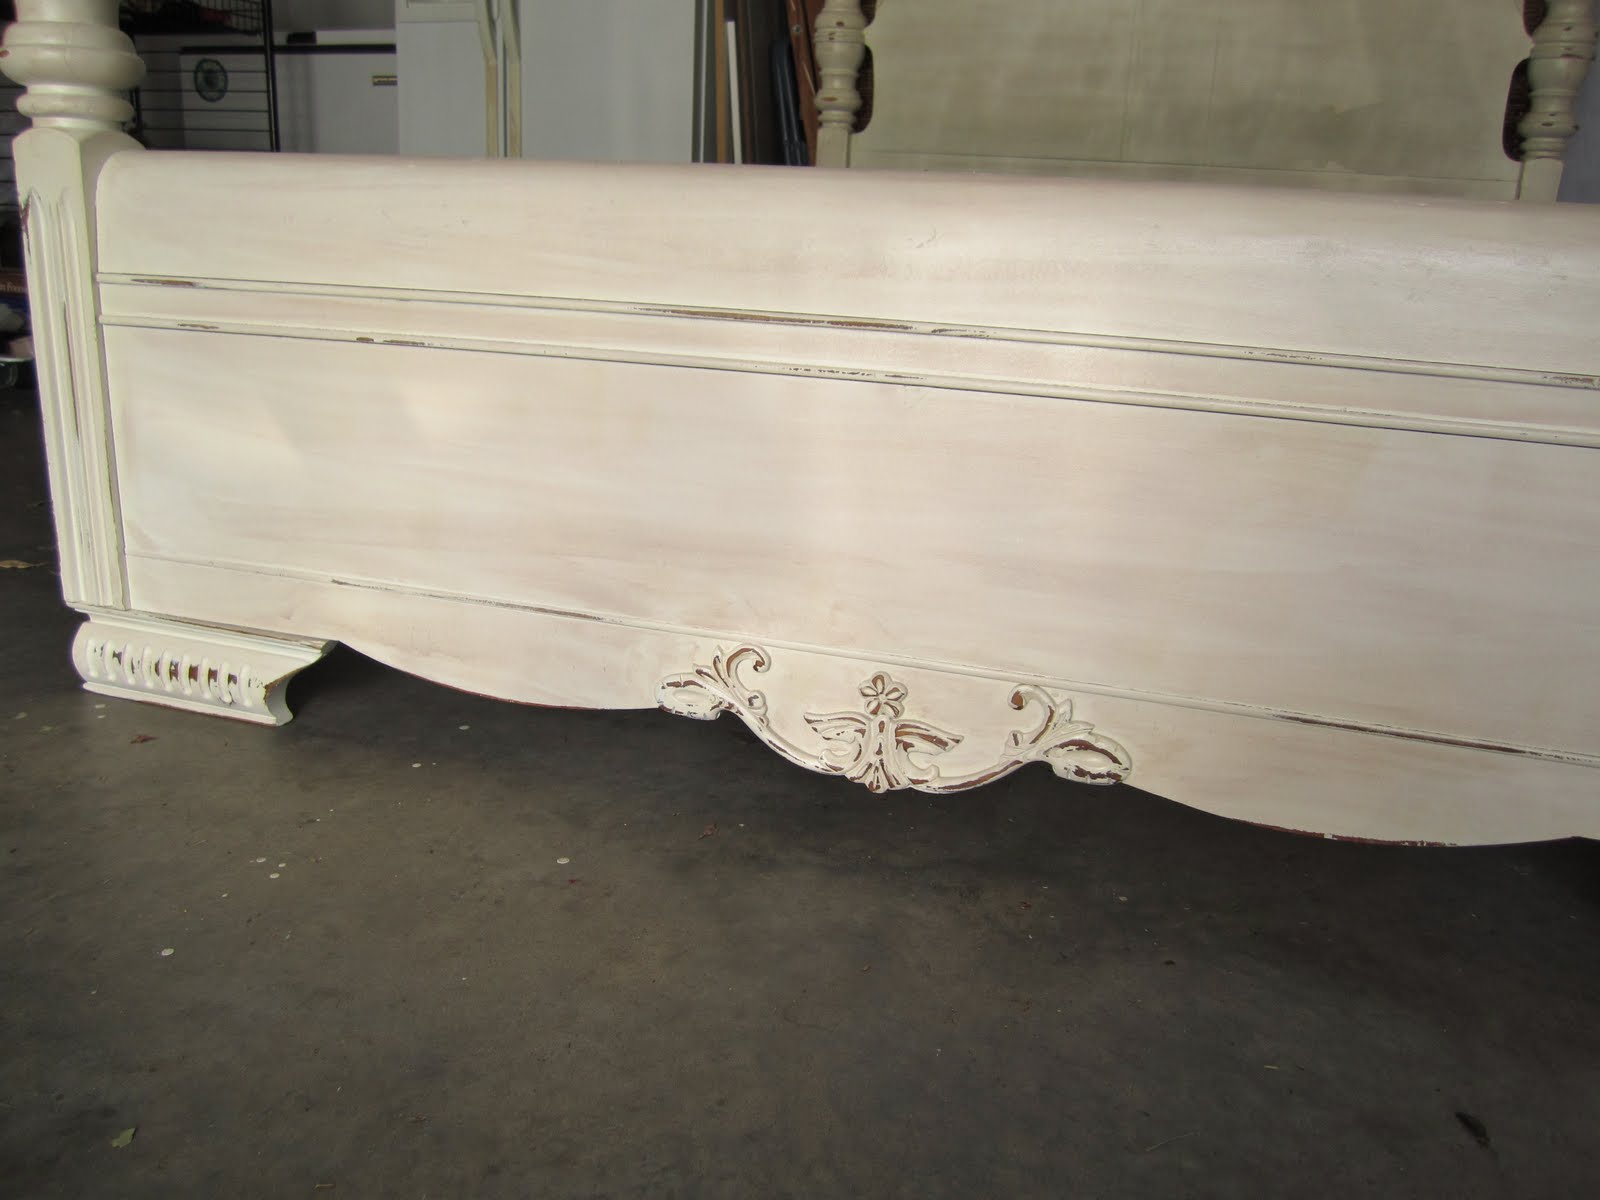
I decided to skip the pictures of the primer stage because primer just isn't all that pretty or interesting. I chose the base color to be a creamy white called "Woodlawn Lace" and then I added a brown glaze to accentuate the ornate detail. I used the electric sander again to distress the edges and then sealed the furniture with a polyurethane coating.
For the drawers, I wanted to add a stripe that was still in the neutral family but would create a soft contrast against the base color. I chose a shade called "Toasted Almond" which is a grayish/beige color. I felt that the stripes were defined, yet subtle. 
The little key hole adds such elegant charisma.
I really liked the original hardware because it shows the age of the furniture.
I just love how the combination of the glaze with the distressing brings out these details.
As much as I loved working on these pieces, I have to say the staging of the furniture was just as rewarding. What a fun job that would be!
Of course, Presleigh had to be part of the project too. She thought it would be a good selling factor.
Once everything was complete, I could really stand back and admire the bedroom suite. If only the bed were queen size, my current bedroom furniture would be for sale and this would be mine. My favorite part of the make-over would definitely be the dresser. I am in love with striped furniture and the simple colors are just my style. Now I'm on the lookout for a piece in my house that would be a good candidate for the same sort of striping action. 


Wednesday, March 23, 2011

Luggage meant to stay at home

I really like the look of stacked vintage luggage and trunks and have been working on a way to incorporate the style into my decor. Although some of my inspiration came from the luggage stacks that reach from floor to ceiling, I settled for a cute little trio. I found each of the three pieces at the thrift store at different times. It has taken a couple of months to find what I wanted but now I am so glad that I didn't settle.  
House Beautiful
Country Living
Pottery Barn
The first piece that I found is a camel-colored leather suitcase. I sat my bird cages on top of it it for a while in front of my window. I never really liked it there. I guess I knew it was going to serve a greater purpose.
The next piece to come home with me was a wicker suitcase. I call it a suitcase because of the shape and leather handle but it is probably some type of picnic basket. Whatever it is, a coat of ivory spray paint gave me exactly what I wanted and I think it looks a lot like the piece in the Pottery Barn image above. 

The final thing that I had been searching for was a trunk. I had seen a few, but they were all either priced too high or the wrong size. Last week I finally found this one and it was only $14.
I taped off all of the metal parts and spray painted the trunk ivory. I added a thin brown glaze so that the trunk would be a slightly different color from the wicker piece. 
Now that each piece looked the way that I wanted it too, I moved them to my bedroom to find the perfect spot to stack them. That spot was finally determined to be at the end of my bed. Not only did they add an interesting focal point to my bedroom, they also double for extra storage space. 

Tuesday, March 15, 2011

Newly-painted Nightstand

All of the furniture in my bedroom is a dark cherry colored wood. While I would prefer a lighter, more rustic bedroom suite, I have to work with what I have for now. At the moment I don't plan to paint every piece of furniture but I change my mind a lot so it could happen. For now, I decided to just paint my nightstand. The nightstand I have had by my bed is just a simple shape with two drawers and with its original color it was a bit boring. I gathered my supplies and headed to the back yard with a Pottery Barn inspiration in mind. 
Pottery Barn 
I lightly sanded my nightstand, applied a coat of primer, and then two coats of ivory spray paint. After it dried overnight, it was time to chip it up. I used the sanding block around all of the edges on the base and the drawers. Then I used a box opener to distress it some more around the edges and to create intentional scratching.
Before
Before
I really liked the re-painted version of my nightstand and thought that it looked pretty similar to the Pottery Barn version that sells for $199. Since I already had the nightstand, my only cost was the spray paint which was $3.99. Not too bad. It really added character to my room by throwing in the one piece of mismatching furniture. There is a chance that another piece may be chosen to get this same look in the future.
After
After
In bedroom